

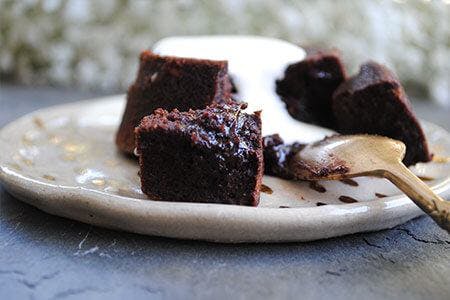
Molten Protein Chocolate Cakes
I realise that oozing, melted chocolate cakes and ‘healthy’ foods seem at odds.

I realise that oozing, melted chocolate cakes and ‘healthy’ foods seem at odds. Many times I have been tricked by the suggestion that the raw/vegan/buzzword/buzzword recipe I am trying does in fact taste like an oreo, when the reality is more akin to a salad in biscuit form. But I promise you, these are deliciously decadent, and even more satisfying when you are aware that they are actually a little bit good for you.

Molten Protein Chocolate Cakes
I realise that oozing, melted chocolate cakes and ‘healthy’ foods seem at odds. Many times I have been tricked by the suggestion that the raw/vegan/buzzword/buzzword recipe I am trying does in fact taste like an oreo, when the reality is more akin to a salad in biscuit form. But I promise you, these are deliciously decadent, and even more satisfying when you are aware that they are actually a little bit good for you.
- Prep 15 min
- Serves 6
Ingredients
- 65 gram dark chocolate (I used Alter Eco brand)
- 1 cup almond meal
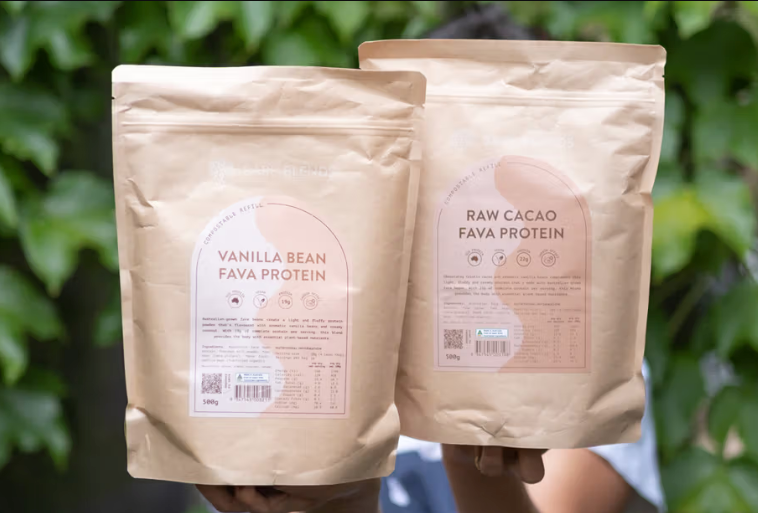
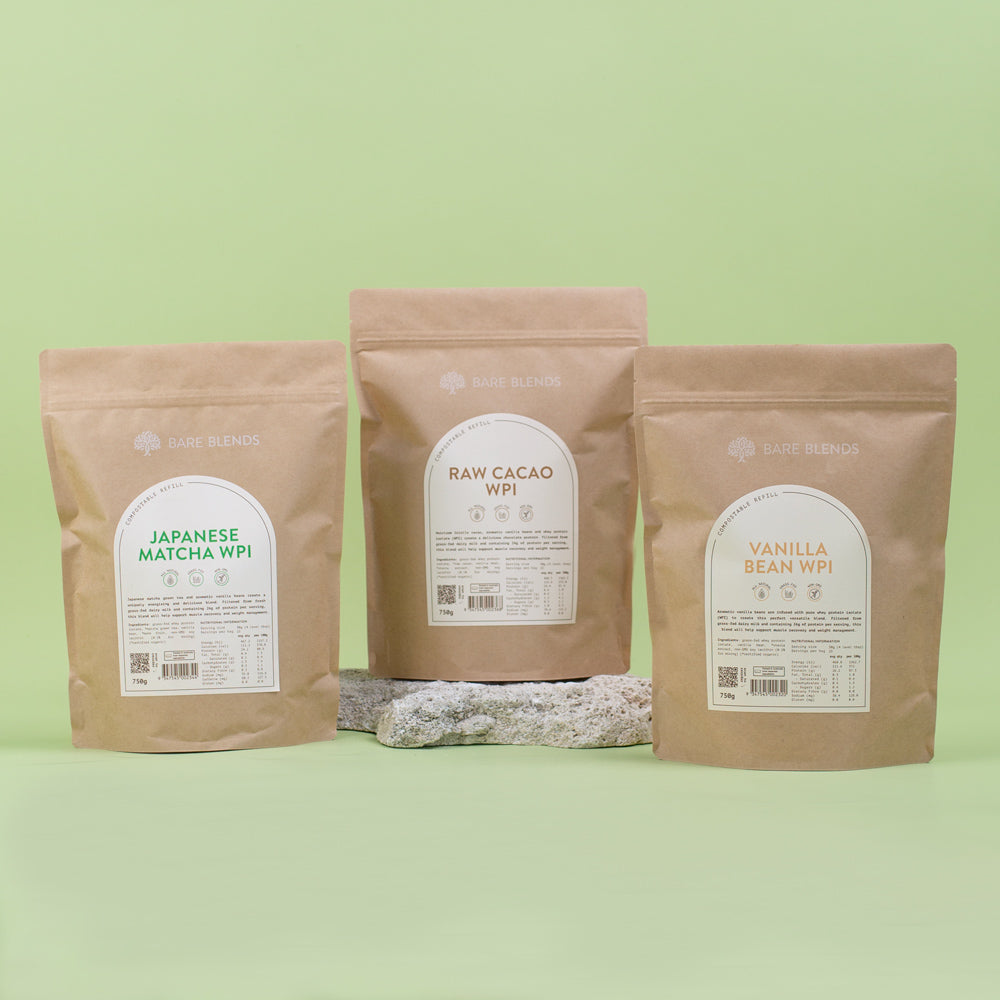
- 3 tablespoon Bare Blends Cacao Whey Protein Isolate
- 3 tablespoon Bare Blends Organic Raw Cacao Powder
- 0.5 cup solid coconut oil
- 2 tablespoon 2-3 tablespoons maple syrup
- 3 tablespoon milk
- 3 eggs
Directions
- Preheat the oven to 180 degrees Celsius.
- Using the double boiler method, melt your chocolate and coconut oil until there are no lumps or bumps left. Remove the bowl from the heat and allow to cool a little.
- In a large bowl, mix together your almond meal, cocoa, Bare Blends Cacao WPI and a pinch of salt. Whisk your eggs together lightly, and add them, along with your milk and maple syrup, to the bowl.
- Next up, add the chocolate and coconut oil mixture, and mix everything together until well combined.
- You have a few options re: what cooking vessel you would like to create these masterpieces in. I had much success with silicon muffin tins, although ramekins also worked, but were admittedly a bit more fiddly. Just make sure you grease your ramekins very well beforehand.
- Pop them in the oven for 10-12 minutes, keeping an eye on them. They are ready when the edges are firm, but the centre is still squidgy to touch. Undercooked and they will flop – overcooked and there will be no fudgy centre to cook over.
- Take them out of the oven and allow to cool for around 5-10 minutes. Run a knife around the edge, and then tip them onto a serving plate. Serve with cream, yoghurt or coconut yoghurt.